Bills Reminder FAQs & Guides
General FAQs
How do I upgrade to the full version of Bills Reminder?

To upgrade to the full version, tap on the top right icon > Upgrade Now > Upgrade to Full Version now! You will be directed to Bills Reminder 2.0 in Play Store.
Once the app is purchased and installed, transfer your trial data to this full version by tapping on the top right icon > Database Tools > Restore from Backup File and choose the most recent dated backup.
Do remember to uninstall the trial version from Play Store after your data is transferred.
Does the notification come with sound?
Yes it does. However, your phone needs to set a sound for notifications first. Go to your settings page and select Sound & display settings. Under Sound settings, tap on Notification ringtone and set a tone for your notification. Silent mode has to be deactivated to use this.
The Overview Screen
Upcoming Bills Screen
This is the first screen you will see, showing upcoming bills not paid yet. The bills are sorted according to their due dates and the Total Payable amount is inclusive of overdue bills.
Each reminder shows the due date, the payee/item name, special icons for Repeat, Notes, or a Photo, countdown to the due date and last but not least the amount due.
Tap on the + icon on the top right to start adding a new bill reminder.

More functions can be accessed by tapping the top left or swiping from left to right of the screen:
- Bills: See your bills up-front to pay on time
- Settings: More details below under the Settings section
- Database Tools: Backup, restore and manage your data here

Creating a Bill Reminder
To create a new Bill Reminder, tap on + icon on the top right in the main screen.

- Fill in Payee/Item
This item is mandatory. - Fill in Amount
This item is mandatory. The default currency is USD. To change this default, proceed to Settings > Currency. - Select Category
If needed, scroll down to create a New Category. Please refer to Manage Categories for further information. If no Category is selected, the bil reminder is saved to a default Category 'Others' - Select Type
Either 'Payable' or 'Receivable'. Bills Reminder automatically recalls the transaction type assigned to each Category. - Set Due Date
The default setting is one week after the current date. - Fill in Notes (optional)
For example, payment type, invoice number - Select Daily Reminder Period of Notification
This setting notify you X number of days in advance of your bill reminder's due date. The default setting is 5 Days Before Due. - Select if the Transaction Does Not Repeat or Repeats
- Fill in the Frequency
The default setting is Day. Choose between Day, Week, Month or Year. To make a biweekly reminder, set it to repeat every 2 weeks. - Fill in the Next Due Date
The default setting is one day after the due date. By default, repeating bills will only appear on your Pending Bills 30 days in advance. To change this, access Settings and select up to 90 days in advance. - Tap the Camera Icon
Capture or attach photo to your bill reminder. - Tap Save
Using Notifications
A Bill Reminder Notification will appear on the stated time once a day, every day until the bill is paid, starting from X days before due date. For more information how to change it, refer to the Settings section.

To mark a bill as paid,
- Tap on Desired Bill in the Notifications List
- Tap Mark as Paid
- Enter Payment Date
The Payment Date detail will be recorded under your Paid Bills.
Settings
To access this, tap on top left of the screen or swipe your screen from left to right.
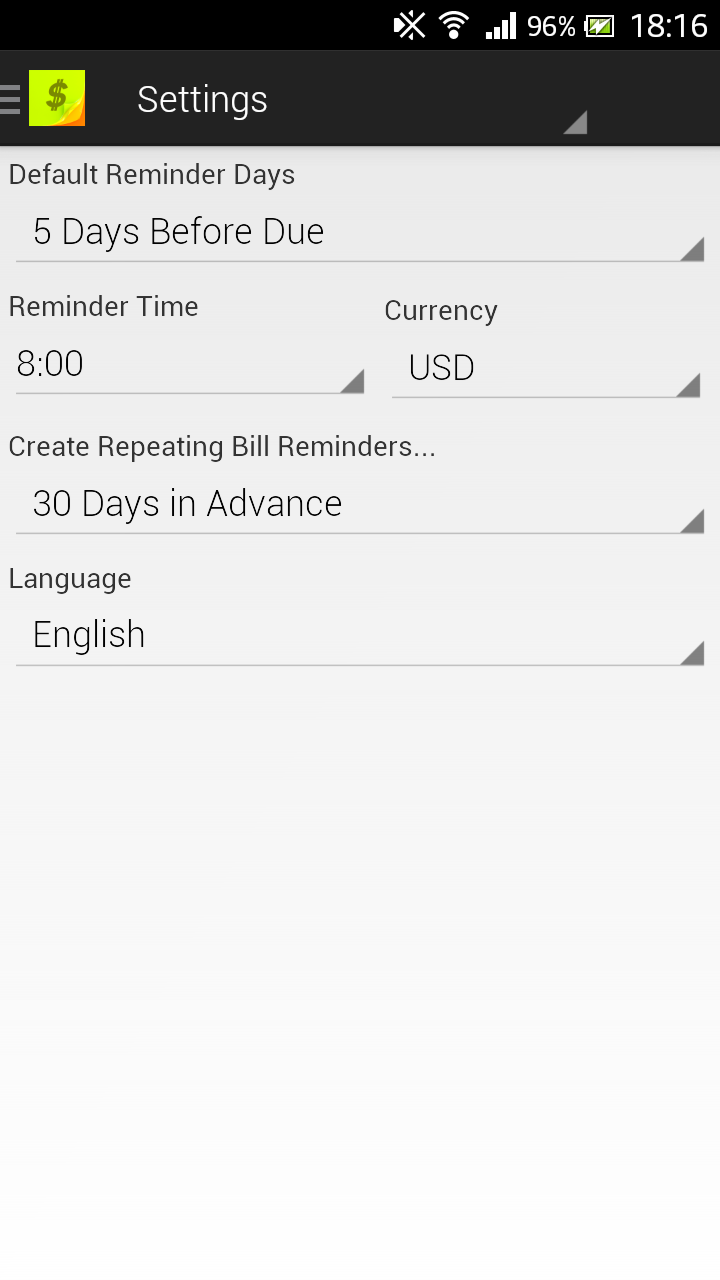
Default Reminder Days
This setting notify you X number of days in advance of your bill reminder's due date.
Reminder Time
The default time is 8 AM.
Currency
The default currency is USD.
Create Repeating Bill Reminders...
This controls the creation of your next repeating bill reminders.
Select between 0 to 90 Days in Advance.